

varieties for northern or short season areas:
-short season varieties (80 days or less)
-indeterminate varieties which grow continously and produce copious amounts of fruit
-heirloom varieties which are open pollinated, and from which seed can be saved.
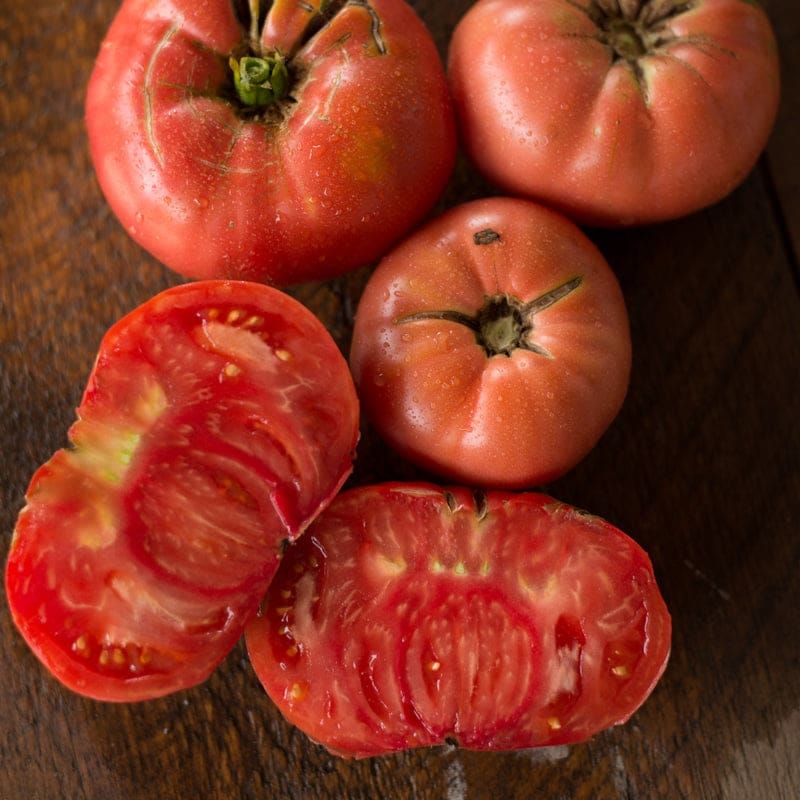
A link with my favorite Heirloom varieties:

Seeding:
-plant seeds in trays indoors 6 to 7 weeks before the last projected frost date in your climate zone area.
-a heat mat will encourage germination
-plant in trays or containers using soilless mix as a base
Transplanting & hardening off
-harden off for at least 1 week prior to planting outside. Expose plants to the sun and wind slowly. Start with 4 hours/day in a sheltered location.
-at transplanting place 1/4 cup of organic fertilizer with calcium into the hole before placing the plant and tamping the soil around it.
-set the plant deep into the hole leaving only the top 3 or 4 leaves above the level of the soil (cut the leaves below this level off). Roots will grow along the entire length of the buried stem.
-create a saucer shape with the plant at the center, in order to facilitate watering.
-at transplanting time drive a 8 foot stake into the soil close to the roots, but not touching, and leaving 6 feet of the stake above the soil level. As the plants grow the stake will provide support
-space plants 18 to 24 inches apart in rows. plant rows 12 to 18" inches apart, and stagger plants between rows to encourage air flow and minimize shading.
Feeding options:
-prepare the planting area by digging an organic fertilizer with calcium, into the soil at least 6 inches deep, a few weeks before transplanting. This helps aerate the soil, encourages microbial activity, and makes it easier to transplant into.
-side dress (broadcast between plants) with alfalfa pellets 4 to 6 weeks after planting, or soak with Alfalfa tea
Watering:
-water deeply, once or twice/week depending on how hot it is and moisture levels in soil.
-water in the evening when it is cooler
-use water that has been allowed to come to ambient temperature (avoid cold water shock) and gently pour onto the soil area around the plants, keeping the plants dry.
Growing:
-pull non-desirable volunteer plants, when they are still small, taking care not to disturb the roots of the Tomato plants
-mulch between plants with grass clippings or leaves
-as the plants grow use short sections of thin elastic band (used in sewing) to tie main stem to the stake about every 6 inches for support and to encourage vertical growth
-grow in full sun
Pruning:
-once the plants are about 1 foot high remove side growth 4 to 6 inches up the main stem. This helps air flow and prevents transmission of soil-borne disease. Cut off any stems that touch the ground as the plant grows
-pruning stems during growth to maximize fruit production. There is an excellent article on pruning at:
https://www.ruralsprout.com/tomato-suckers/
-pruning when the main stem forks. A video explaining this:
Harvesting:
-pick when color reaches between 30 to 50% of full color development. This is referred to as the breaker stage. The plant begins to isolate the fruit from the stem at this stage, and there is no advantage to leaving it on vine any longer. You will find that Tomato easily separates from the vine at this stage as well.
-another method to help determine ripeness, is how easy the tomato breaks away from the stem. A short video explains this:
Processing:
-
