

In order to better understand some terms used in this document, I have copied some definitions which can be found at https://blog.seedsavers.org/blog/open-pollinated-heirloom-and-hybrid-seeds
An heirloom variety is a plant variety that has a history of being passed down within a family or community, similar to the generational sharing of heirloom jewelry or furniture. All heirloom variety are open-pollinated
Open-pollination is when pollination occurs by insect, bird, wind, humans, or other natural mechanisms. Because there are no restrictions on the flow of pollen between individuals, open-pollinated plants are more genetically diverse. This can cause a greater amount of variation within plant populations, which allows plants to slowly adapt to local growing conditions and climate year-to-year.
Hybridization is a controlled method of pollination in which the pollen of two different species or varieties is crossed by human intervention. Hybridization can occur naturally through random crosses, but commercially available hybridized seed, often labeled as F1, is deliberately created to breed a desired trait. The first generation of a hybridized plant cross also tends to grow better and produce higher yields than the parent varieties due to a phenomenon called ‘hybrid vigor’. However, any seed produced by F1 plants is genetically unstable and cannot be saved for use in following years. Not only will the plants not be true-to-type, but they will be considerably less vigorous. Gardeners who use hybrid plant varieties must purchase new seed every year. Hybrid seeds can be stabilized, becoming open-pollinated varieties, by growing, selecting, and saving the seed over many years.
If you grow heirloom or open pollinated Tomato varieties, it is possible to save seed for future plantings. I will outline the steps used in the fermentation method for your information:
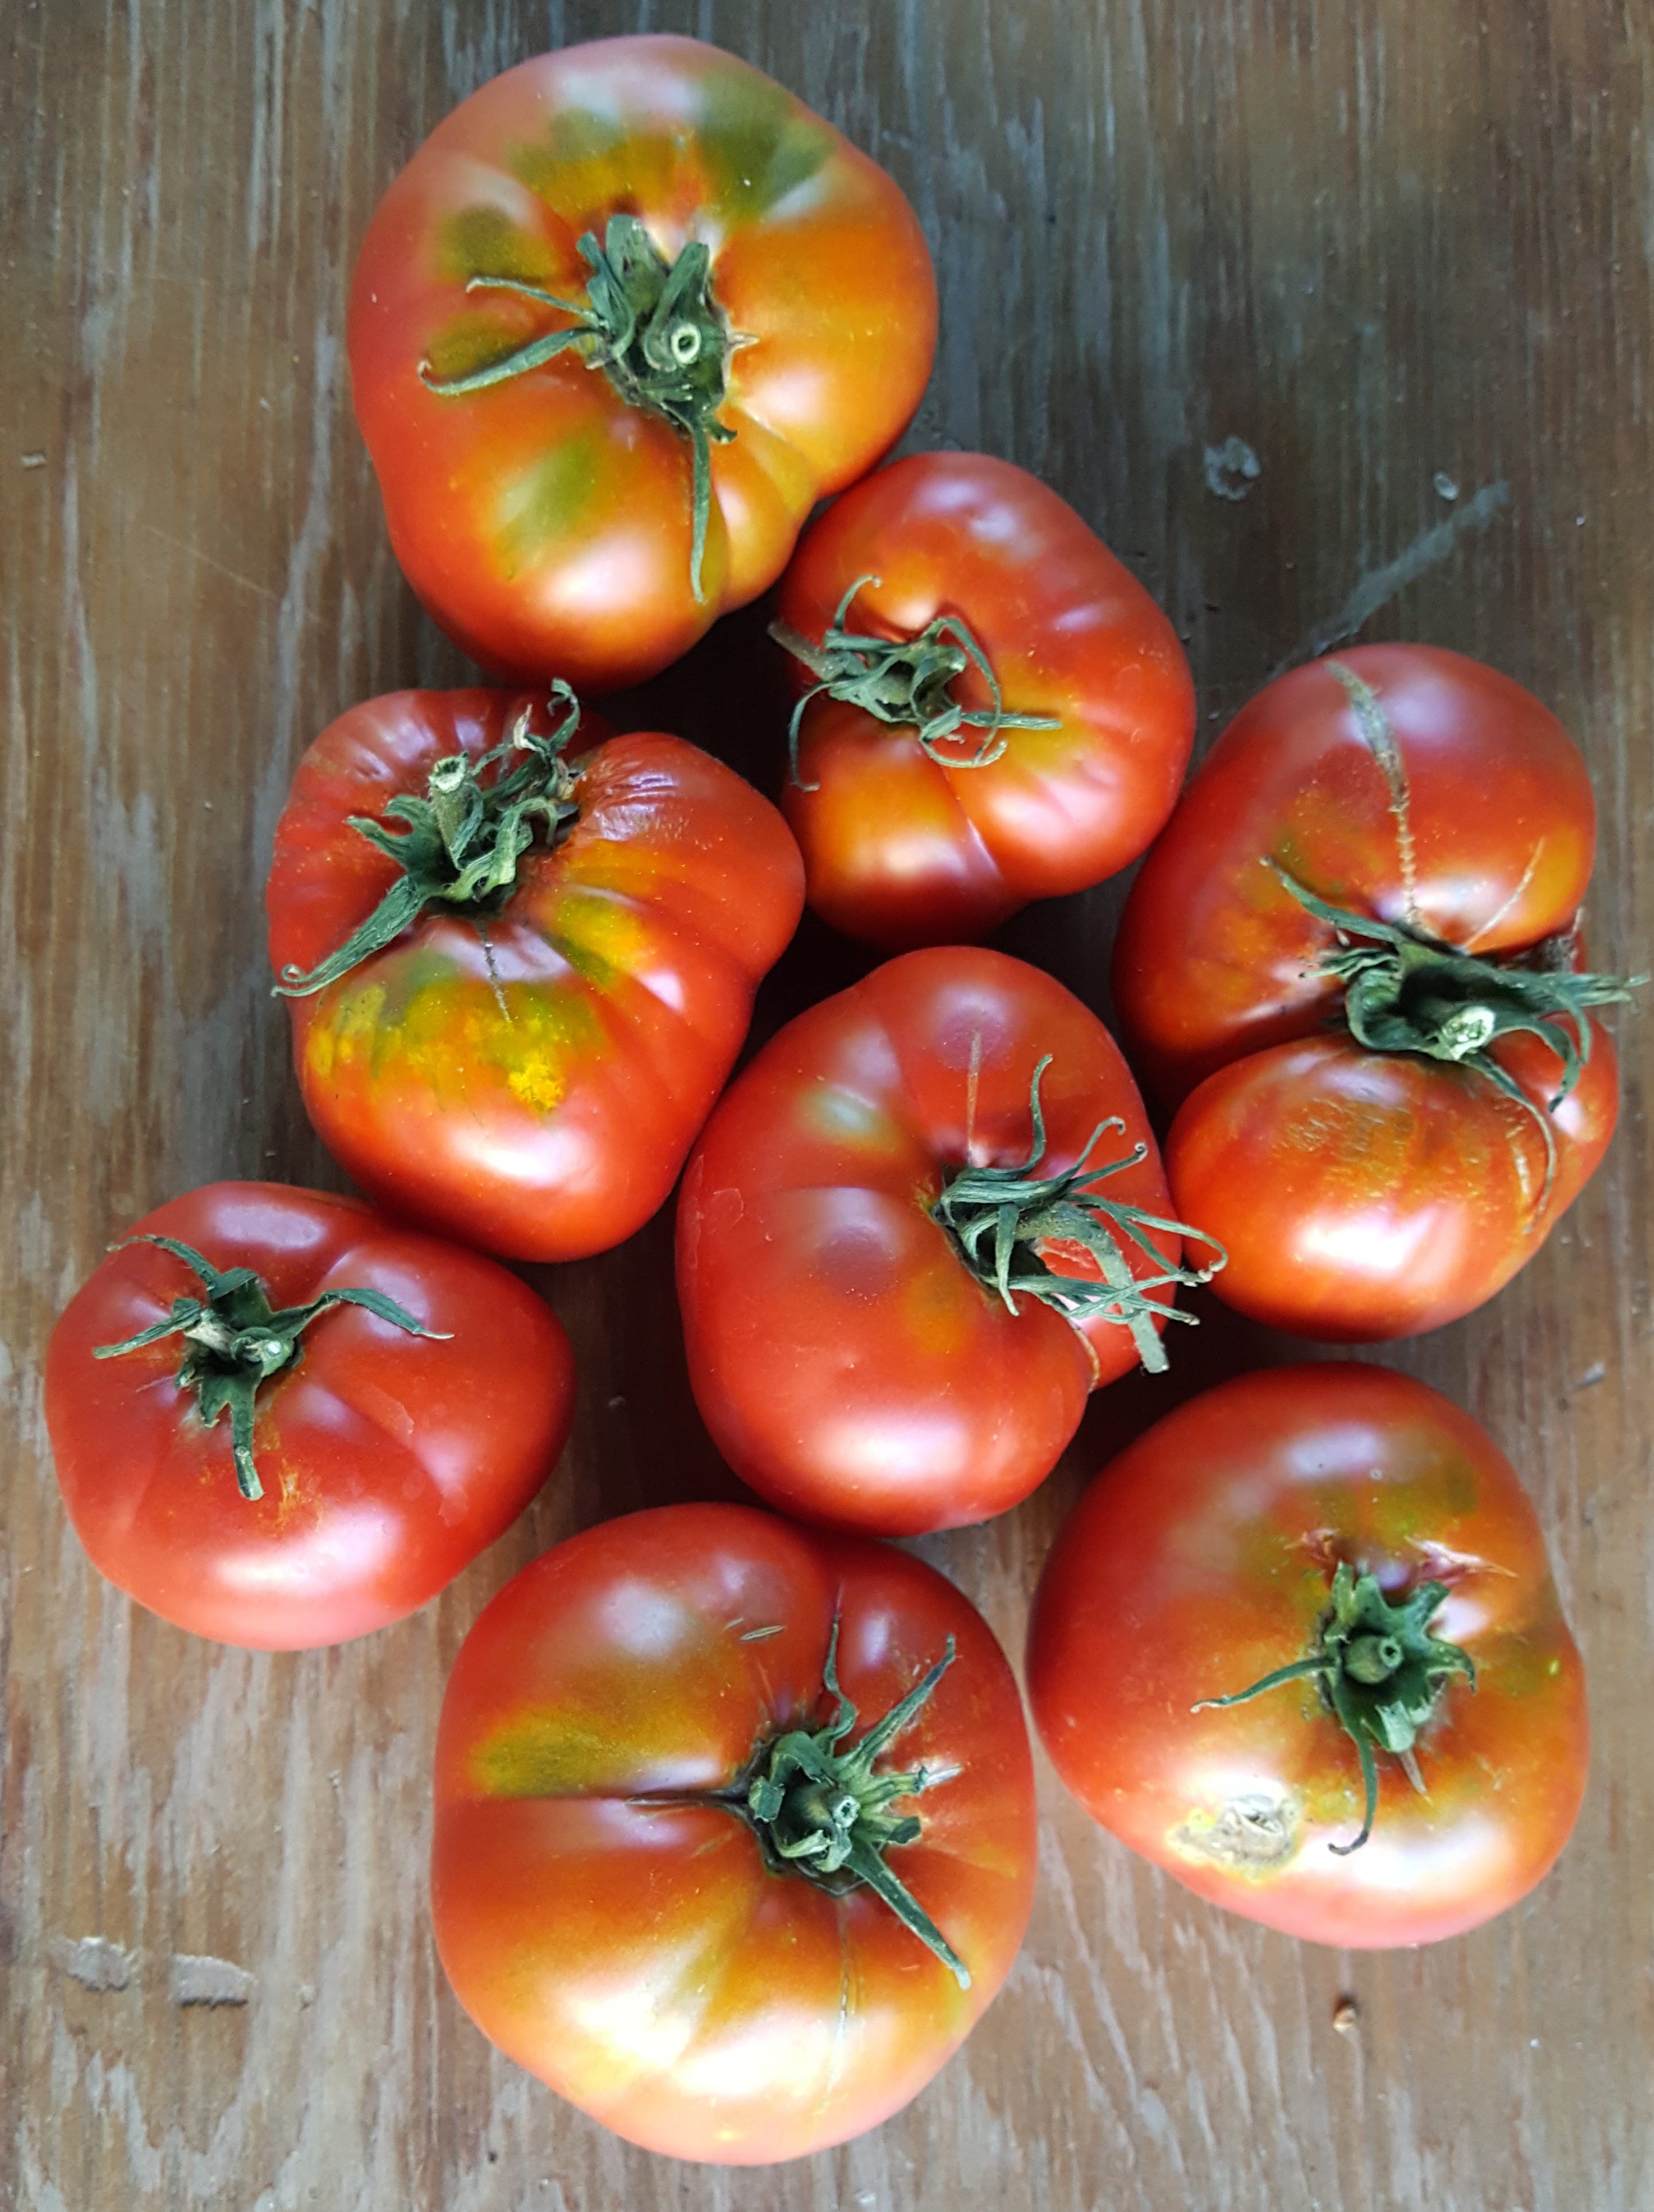
Part 1 - Selecting Tomatoes & labelling
Identify the Variety: At planting time stake each plant and label with the variety. If you grow multiple heirloom varieties in close proximity, it is good practice to label each plant with a stake. Alternatively you can draw a map identifying the location of each variety after planting. This way you can properly identify the variety and follow it throughout the year from seed to harvest.
Identify the Tomato: I prefer to select individual Tomatoes while they are still on the vine. Select individual Tomatoes that have superior qualities for shape, size, lack of disease and deformities etc. These are qualities you desire that may be passed on through the seed you are collecting.
Label the Tomato: take a permanent marker and make a symbol or letter that identifies that Tomato as being one that is selected for seed. I use a capital S followed by a 2 or 3 letter abbreviation I used for that particular variety.
Ripeness: The Tomato should be ripe to over ripe, but not rotten, to ensure full development of the seeds. You may pick them at the 30 to 50% ripeness and let them finish ripening inside.
Prepare and Label Containers: Obtain enough containers/cups so that each variety has a separate container. I use plastic beer style cups to ferment the seeds in. Using a black permanent market label each cup with the variety of seed to be fermented.
Part 2 - Seed Removal
Cut open large tomatoes along their equator (halfway point between the stem and blossom ends). Massage the gelatinous seeds from the bottom of the seed cavities until they come to the cut end and then squeeze into a container.
For smaller tomatoes poke a hole with a knife into the blossom end, or cut a slice off and squeeze contents into a container
Part 3 - Fermentation
seeds are coated with a gelatinous material that contains sprout inhibitors so that the seeds do not sprout and germinate while they are still inside the tomato.
the process of fermentation breaks down or inactivates the inhibitors so that germination will be much better.
label and set aside containers for three to five days at a temperature not more than 70°F (21°C).
check every day and remove any surface mold with a spoon. Stir the fermenting juices to submerge the pulpy material.
Part 4 - Remove extraneous material
in this step you will remove any excess pulp, mold and anything that is not seeds.
pour into a larger container that allows you to add three or more times the volume of water. Pour off the pulpy water but not the seeds at the bottom. most of the viable seeds will sink.
pour seeds into a small screen or strainer and spray water over them to remove most of the residual pulp and fermented liquid.
Part 5 - Labelling & Drying
label a paper plate with the variety of seed
flip the strainer over and smack onto a paper plate to deposit the seeds and allow to dry at room temperature for at least one week but as long as one month
Stir and crumble seeds with your fingers daily to prevent them clumping together.
As the seeds dry, lightly rub clumps together between your palms to separate
seeds.
label small paper bags with the variety and date of packaging
store at room temperature or cooler, but do not freeze