Receiving & Handling bare root trees
If you can’t plant right away store in a shaded cool area like a basement or garage for no more than a day or two. Do not store them in a freezing location. Once you are ready to plant soak the roots in a bucket of water for an hour or more (not exceeding 8 hours). Keep the trees in a bucket of water with their roots completely submerged while you plant.
Preparation of area to be planted
If it is possible, undertake site preparation in the fall prior to spring that the trees will be planted. Identify area to be planted, measure the distance between plants and between rows. Stake each hole.
If the area is grassed, remove all of the sod from the planting area (3 to 4’ diameter) or chop it up finely with a rototiller. If possible dig your hole as deep and 2 x wider than the roots of the tree. If you don’t know the size of the roots, start with a hole about 12 inches and 18 inches wide. The larger the hole, the easier the tree will be able to establish itself, especially if the native soil is compacted. Pile dug soil onto a tarp or large board. This will make it easier to replace the native soil back onto the roots during backfilling.
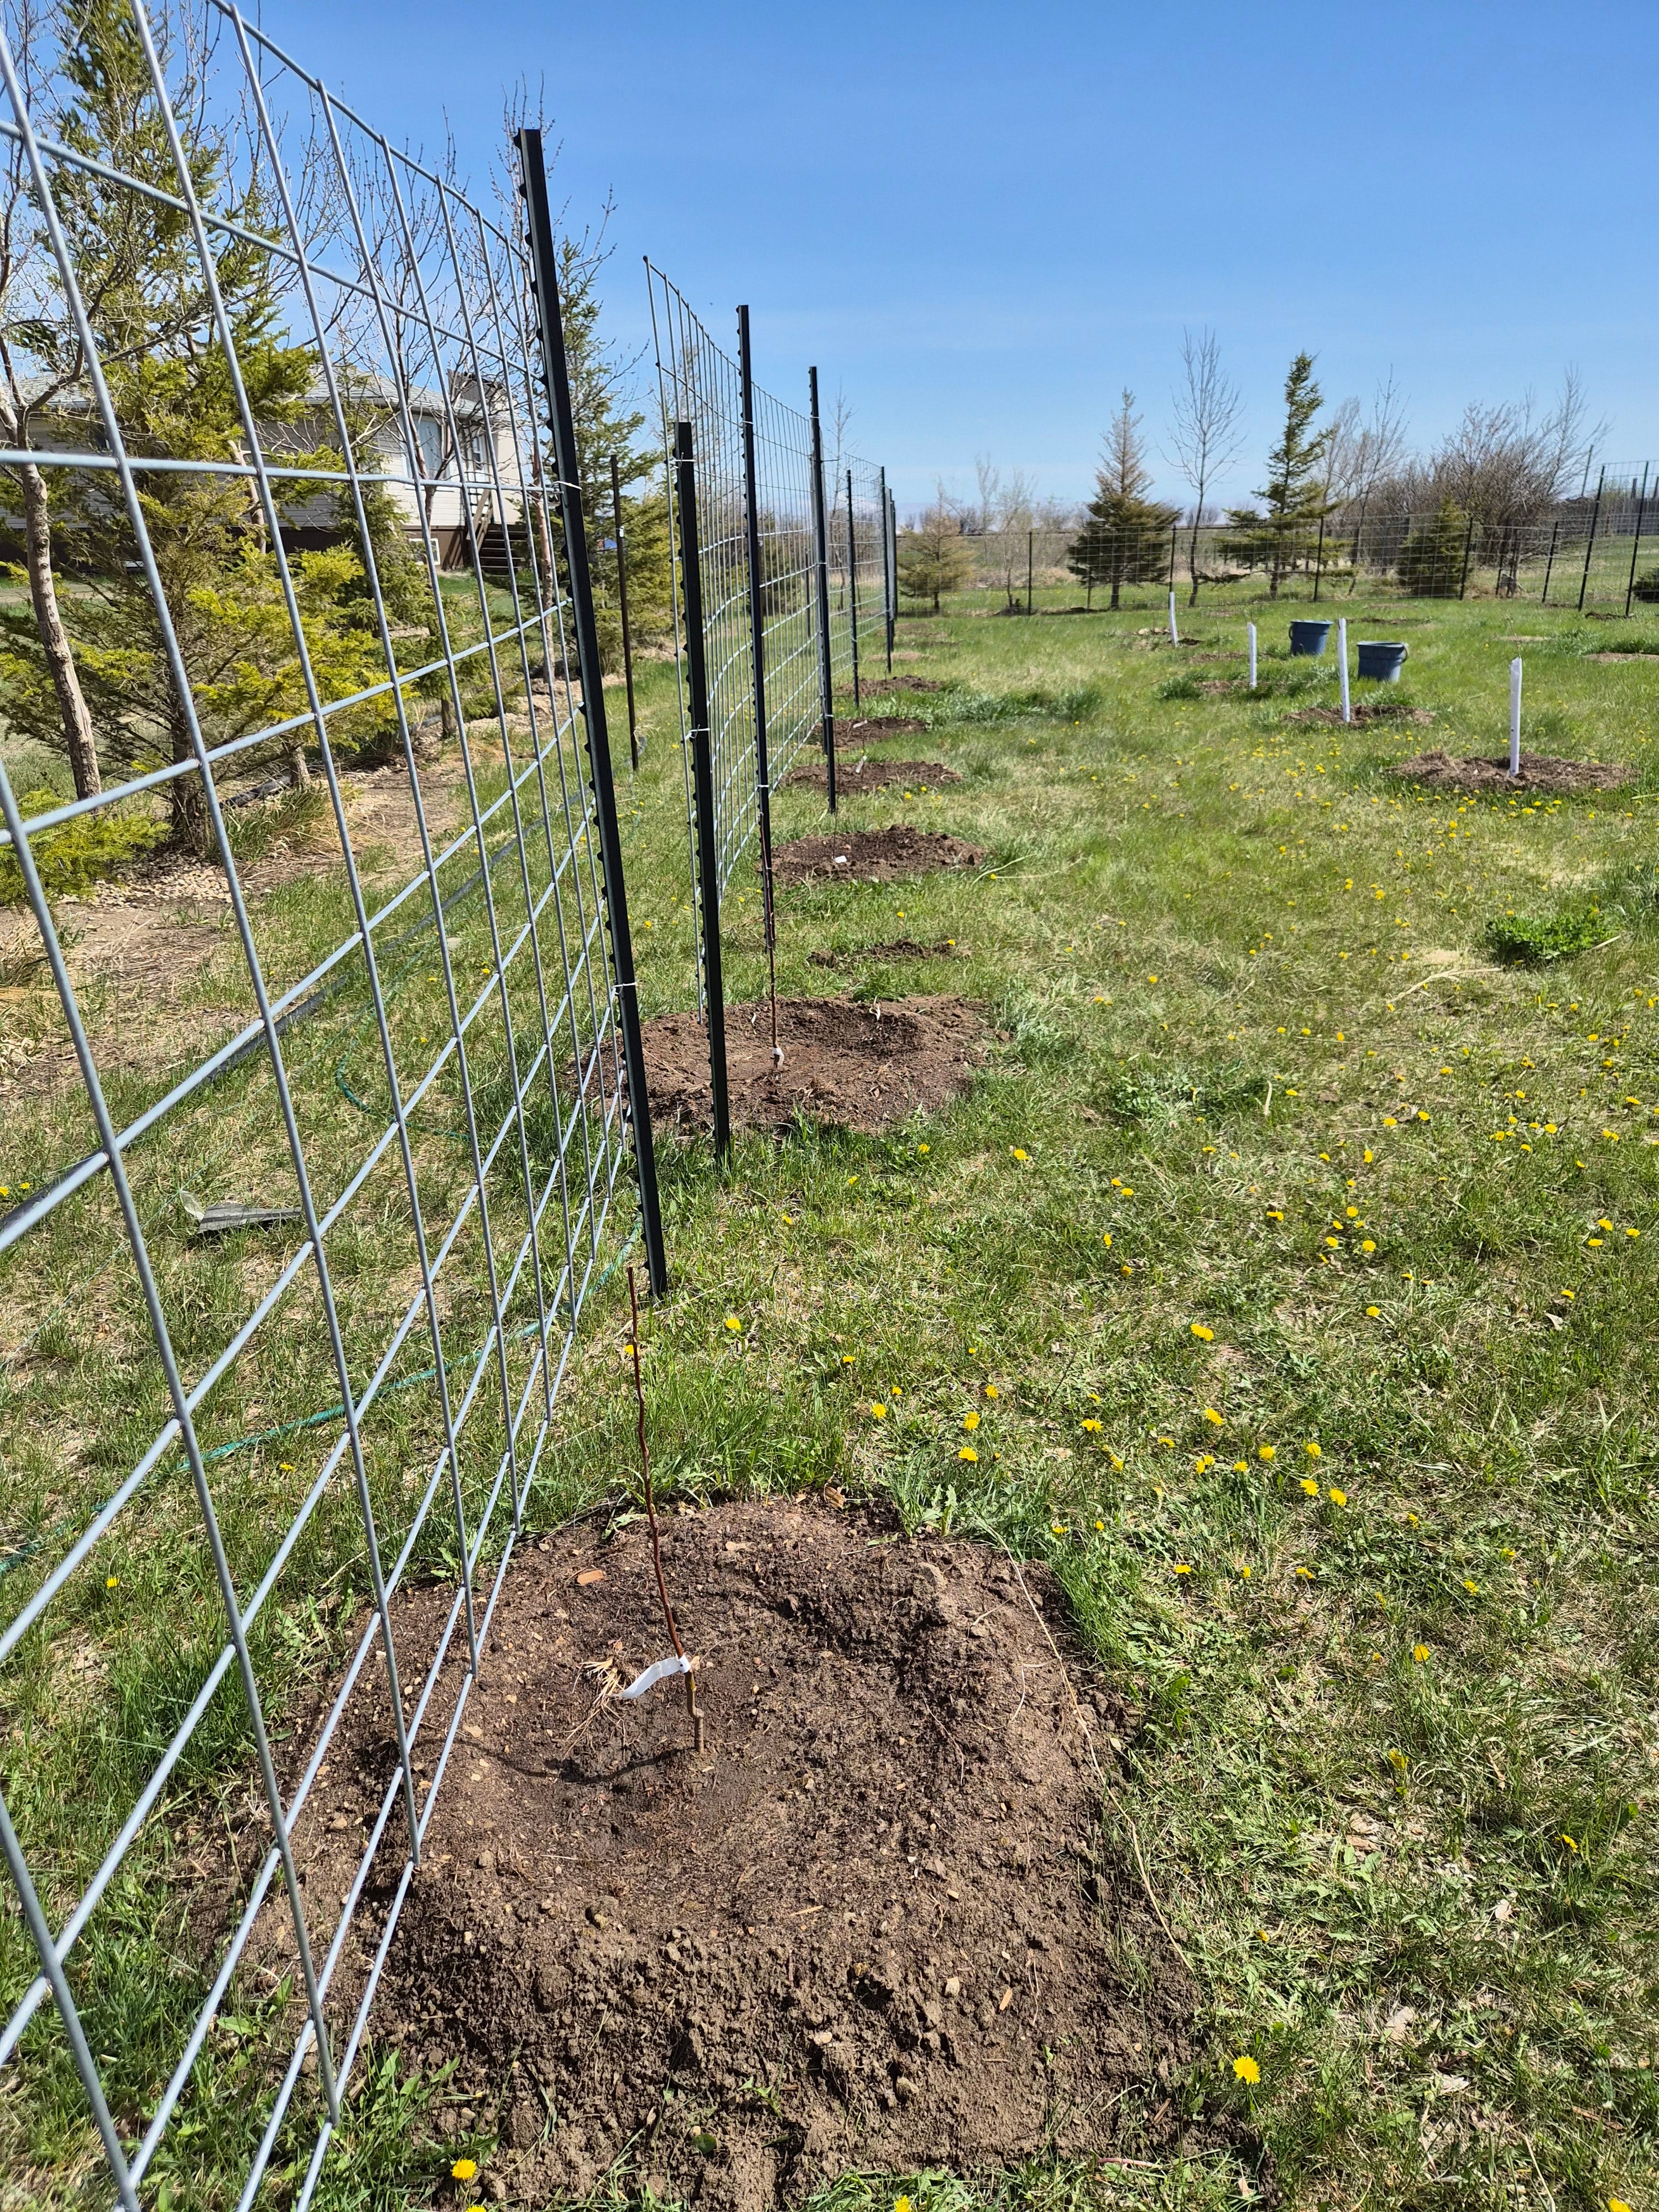
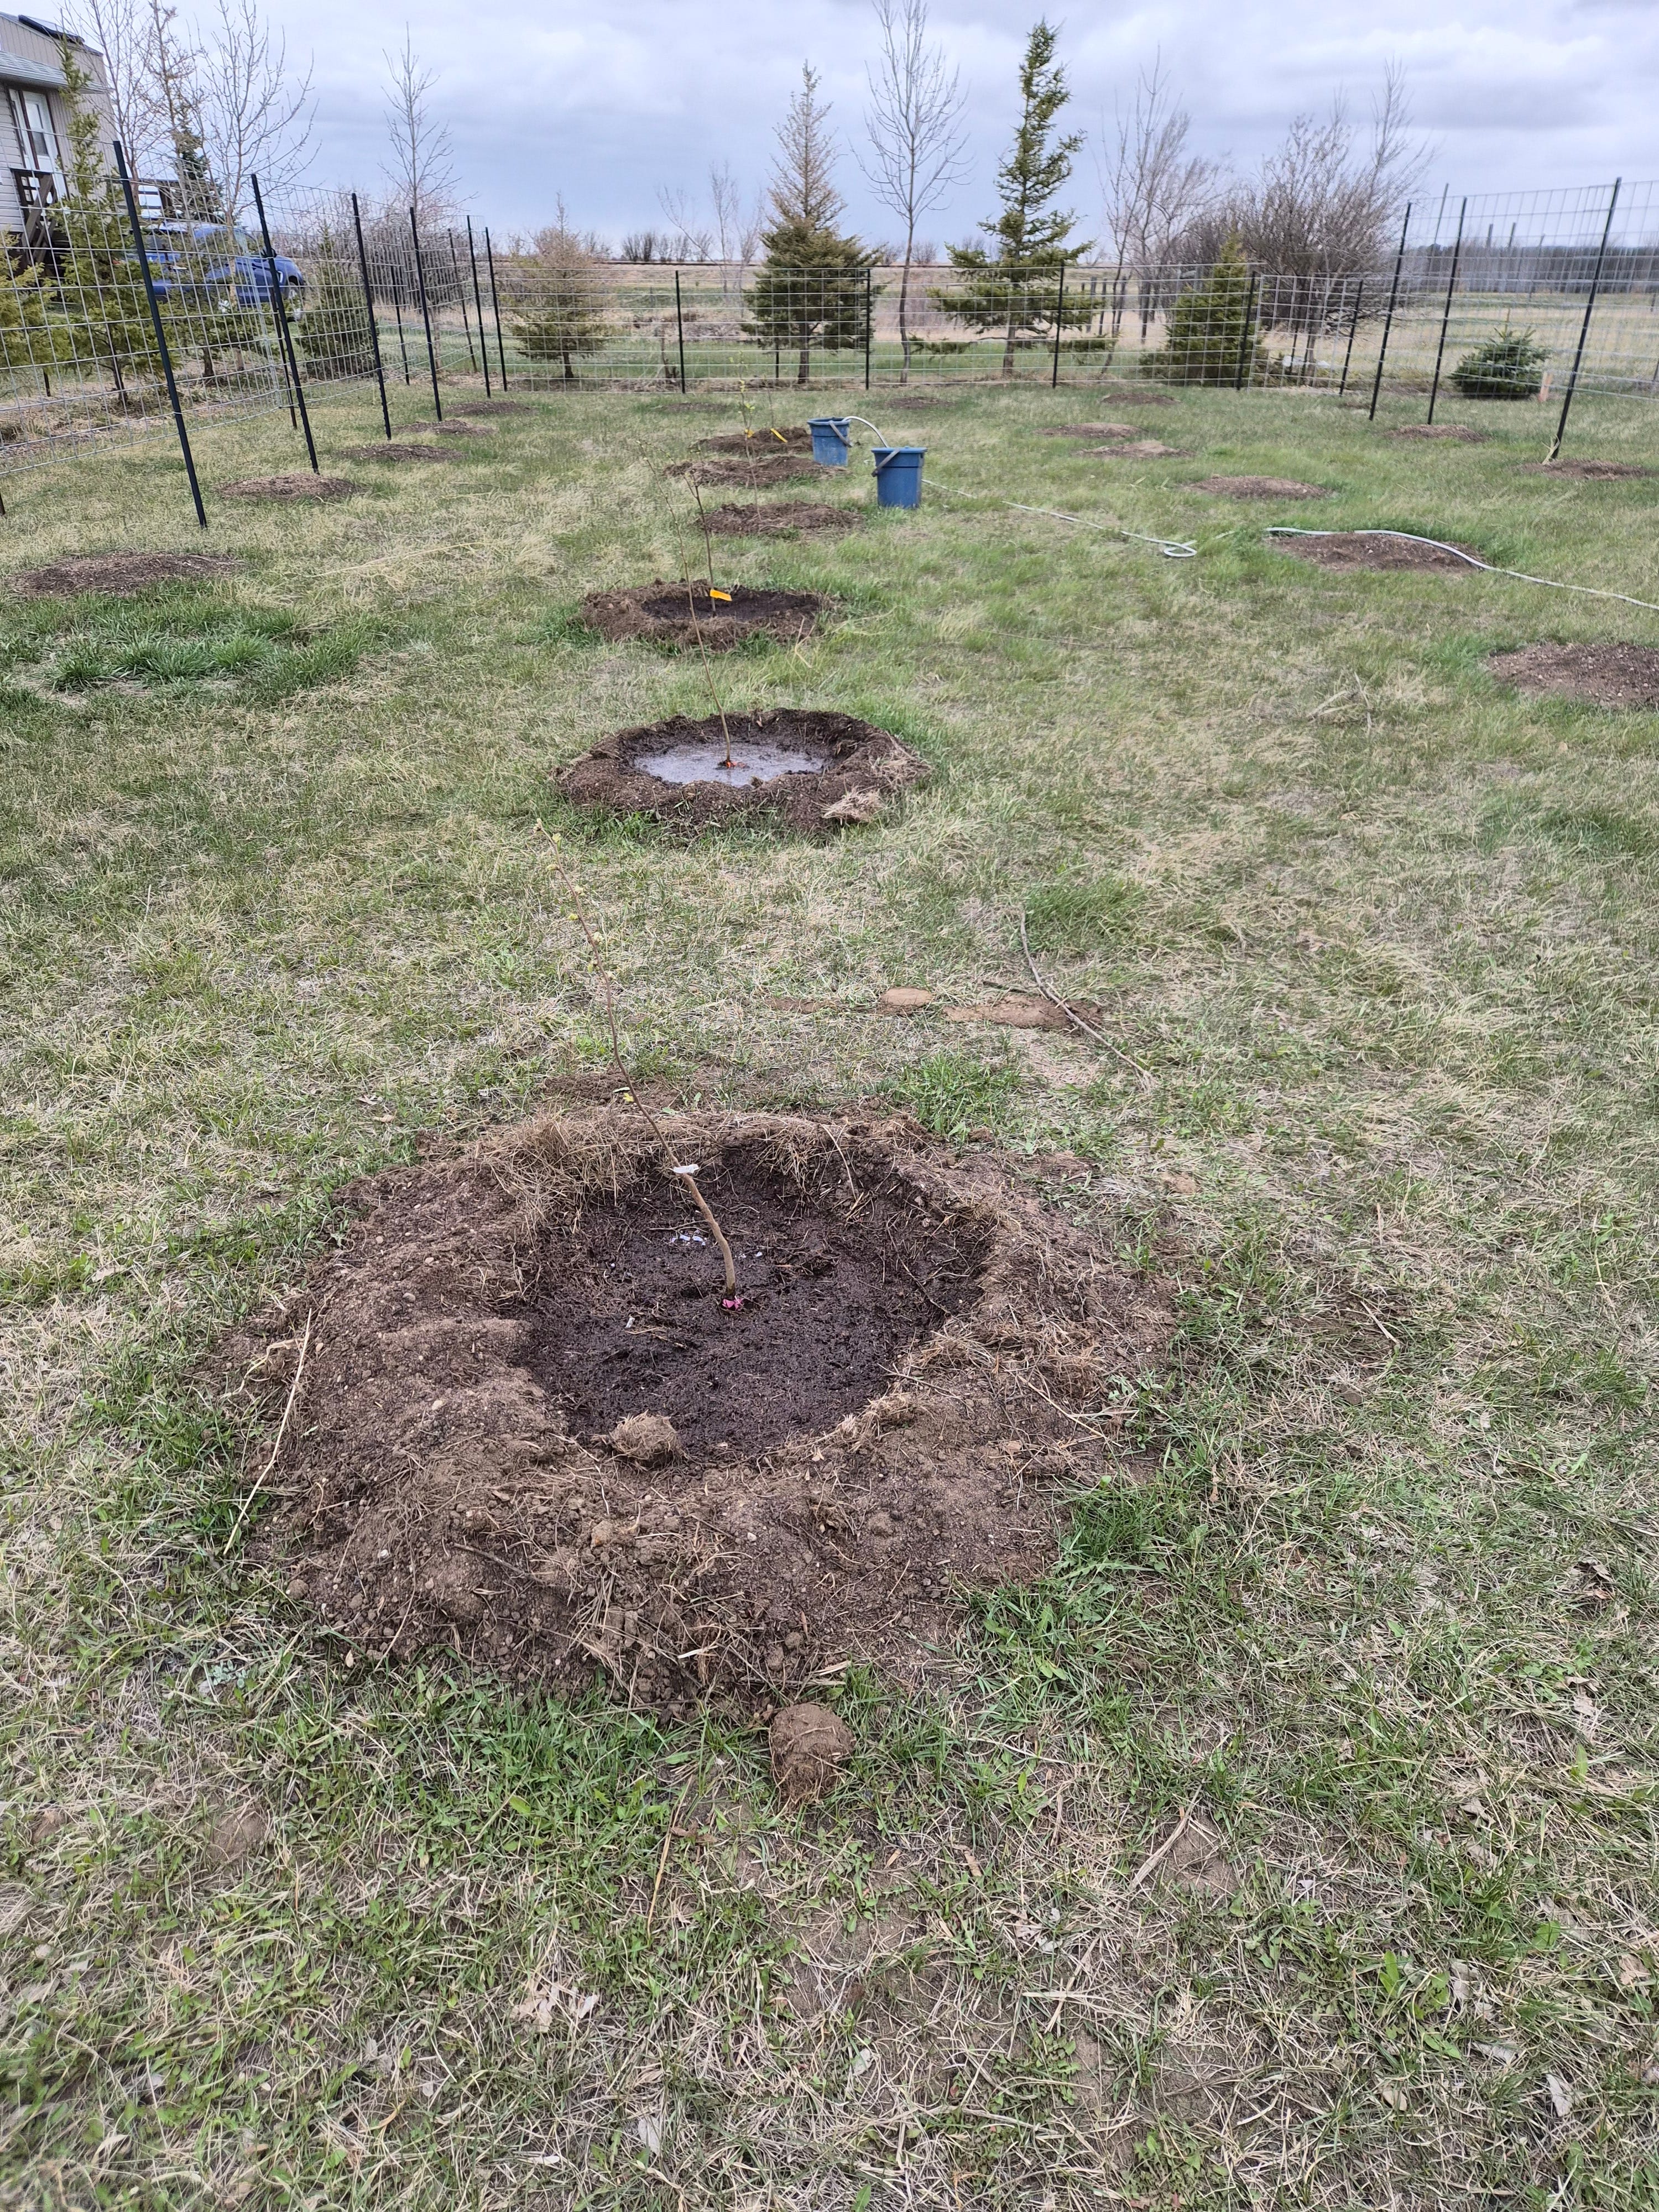
I like to create a raised area (dike or berm) about 3 feet in diameter around the planting area. Add some topsoil/compost to the planting area and rake away from the center creating a ‘donut hole’. This allows you to water the trees using a pail with the raised area holding the water close to the plant while it soaks down deep into the root ball area.
preparing hole for espalier or trellised fruit trees
-placement of hole should be close to the center and about 4 to 6” in front of the support system. This space is needed because the main stem will expand in size and diameter as it grows.
Placement of bare root tree into hole
-if you are in northern growing areas, the fruit tree will most likely be grafted onto a hardy rootstock that can withstand the harsh sub zero temperatures associated with winter conditions.
- ideally the graft union should be on the support side of the hole and perpendicular to it (straight up and down). More importantly, it should be about 1 to 2 inches above the ground. The stem can be trained as it grows so do not worry if the tree is perfectly straight up and down when planted.
-orient the stem so that two buds on opposite sides of the whip, are parallel to support and slightly above the 20” mark (2 to 3 inches).
Backfilling soil around tree roots
-if you have a large root ball, make a little cone in the middle and bottom of the hole to help spread feeder roots out. Fan roots out over cone.
-remove any clumps by crushing with your hands, and gently backfill native soil around the roots while holding the whip in place with other hand.
adding organic supplements for root health
-once roots are covered enough for the whip to stand on its own, add one or 2 cups (up to 3lbs) of bone meal by sprinkling across the surface of the soil. Phosphorous in the bone meal supports the establishment and growth of roots.
-you may opt to add some (1/2 pound) of alfalfa pellets onto the surface of the soil as well, for some slow release nitrogen and micronutrients.
-continue adding soil until roots are just covered
- tamp soil down lightly by patting down with palms of hands first. Then can step gently around the stem and out to the edge of the hole with feet and slightly more weight.
Watering - water with at least 20 liters to drive water down to the roots
Mulching -add organic mulch to a depth of about 3 to 4 inches leaving a gap directly around the trunk. The purpose is to conserve moisture and reduce weed growth. I will be expanding on mulch options at a later date.